Configuring an Identity Provider (OIDC)
Configuring an Identity Provider (OIDC)
Integrating an OpenID Connect (OIDC) Identity Provider (IdP) with Invariant Technology allows you to enable Single Sign-On (SSO) for your workspace. This centralizes user authentication through your existing IdP (e.g., Okta, Azure AD, Auth0), enhancing security and simplifying the login process for your users.
Prerequisite: Before you begin, you must have an application configured within your chosen Identity Provider specifically for Invariant Technology. From this IdP application configuration, you will need the following details:
- Client ID
- Client Secret
- Provider Discovery URI (also known as OpenID Configuration URL, Discovery Endpoint, or
.well-known/openid-configurationURL)
Adding an OpenID Connect (OIDC) Provider
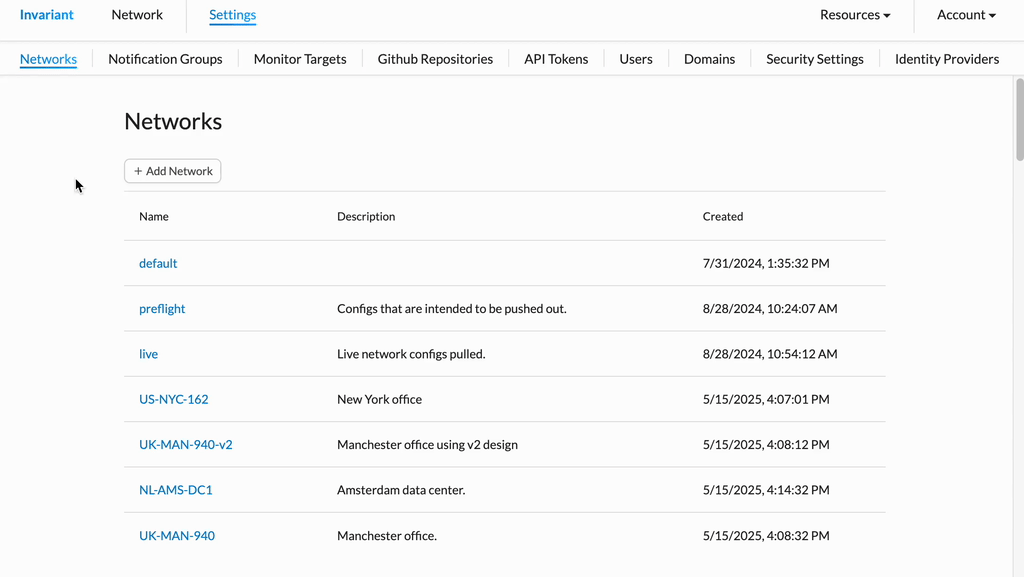
- From Invariant Settings, navigate to the Identity Provider section (this might also be labeled "SSO," "OIDC Configuration," or similar).
- Click the Add OpenID Connect provider button.
- A form for entering your IdP details will appear.
- In the form, provide the following information obtained from your Identity Provider's application configuration:
- Custom Name: Enter a descriptive name for this IdP connection (e.g., "Okta Production," "Azure AD SSO"). This name is for your reference within Invariant Technology.
- Client ID: Enter the Client ID.
- Client Secret: Enter the Client Secret.
- Note: Treat the Client Secret like a password; it is sensitive information.
- Provider Discovery URI: Enter the full Discovery URI.
- Once all fields are correctly filled, click the Add Integration button (or Save Configuration, Connect).
- Invariant Technology will attempt to connect to your IdP using the provided details.
- Upon successful configuration, the IdP will be listed, and you may be able to set it as the default login method (refer to "Workspace Security Settings" for more details).
